


A pedicure is a foot and toenail grooming routine that includes cleaning the feet, trimming and shaping toenails, caring for the cuticles, and applying moisturizer or nail polish. It can be done at home using basic grooming supplies or at a salon.
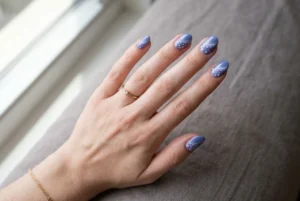
A home pedicure lets you choose your preferred nail shape, polish colour, and finish. You can keep your toenails natural, apply a classic colour, choose a glossy finish, or add simple nail art.
You don’t need a complicated setup to get started. A few basic tools, a comfortable place to sit, and your preferred nail products are enough for a simple grooming routine.
What You Need for a Home Pedicure
Before beginning, gather your supplies and arrange them somewhere easy to reach. Having everything ready makes the process more organised and helps you move through each step without interruptions.
The products you need depend on whether you want a simple foot-care routine or a pedicure that includes nail polish.
Essential Pedicure Tools
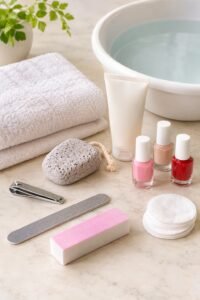
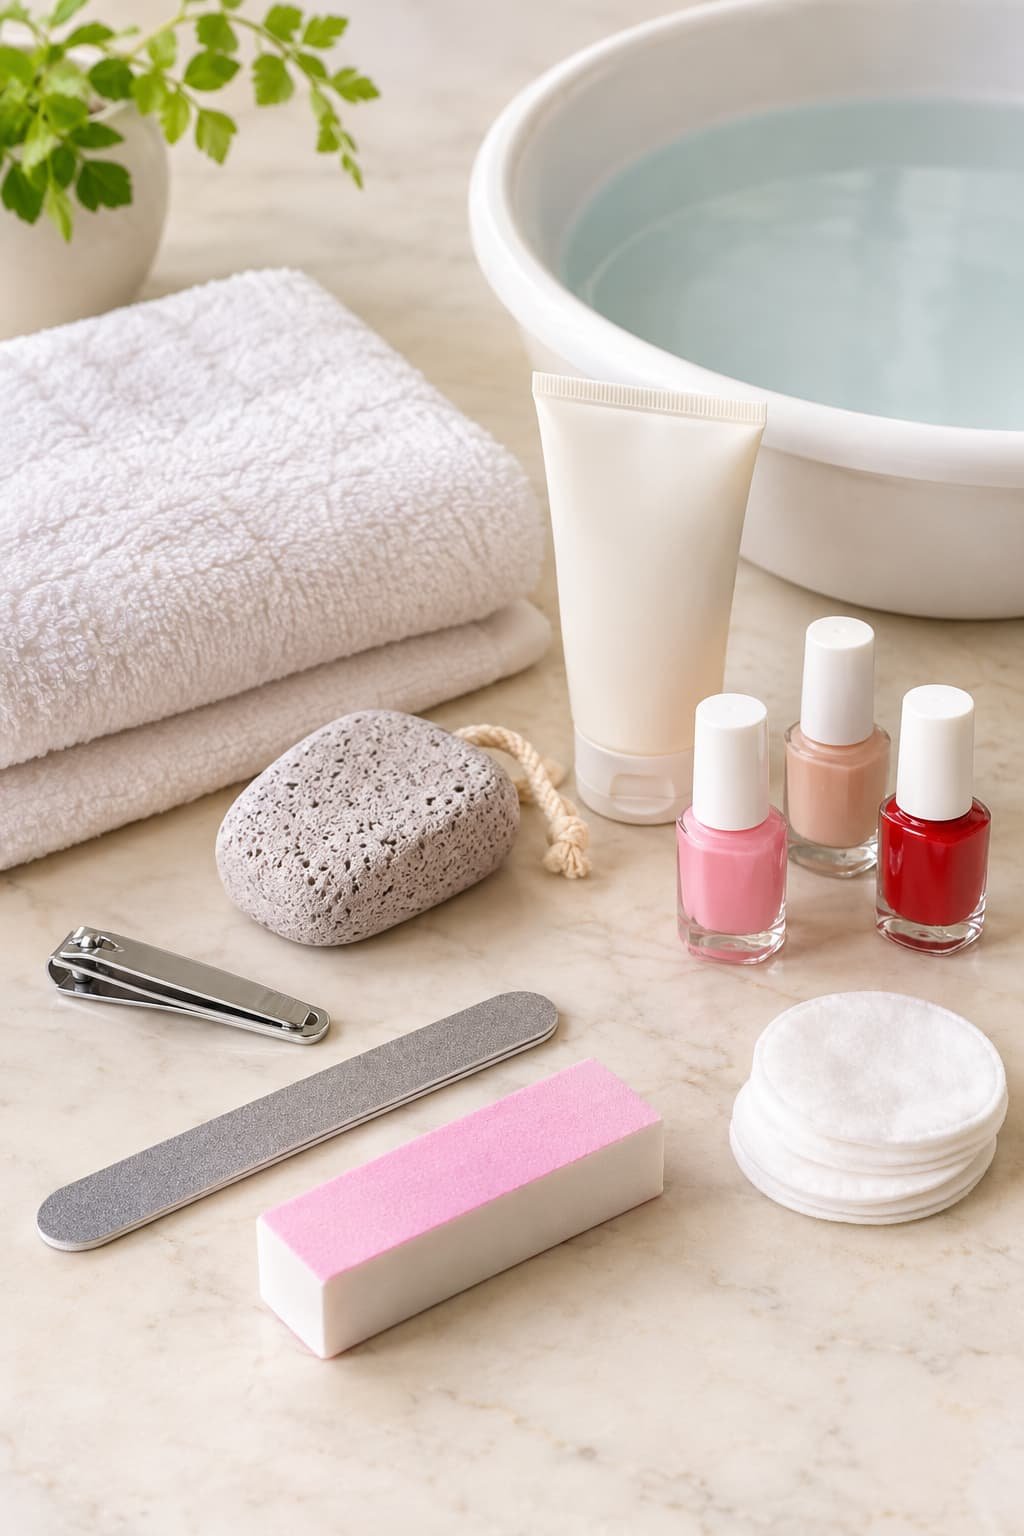
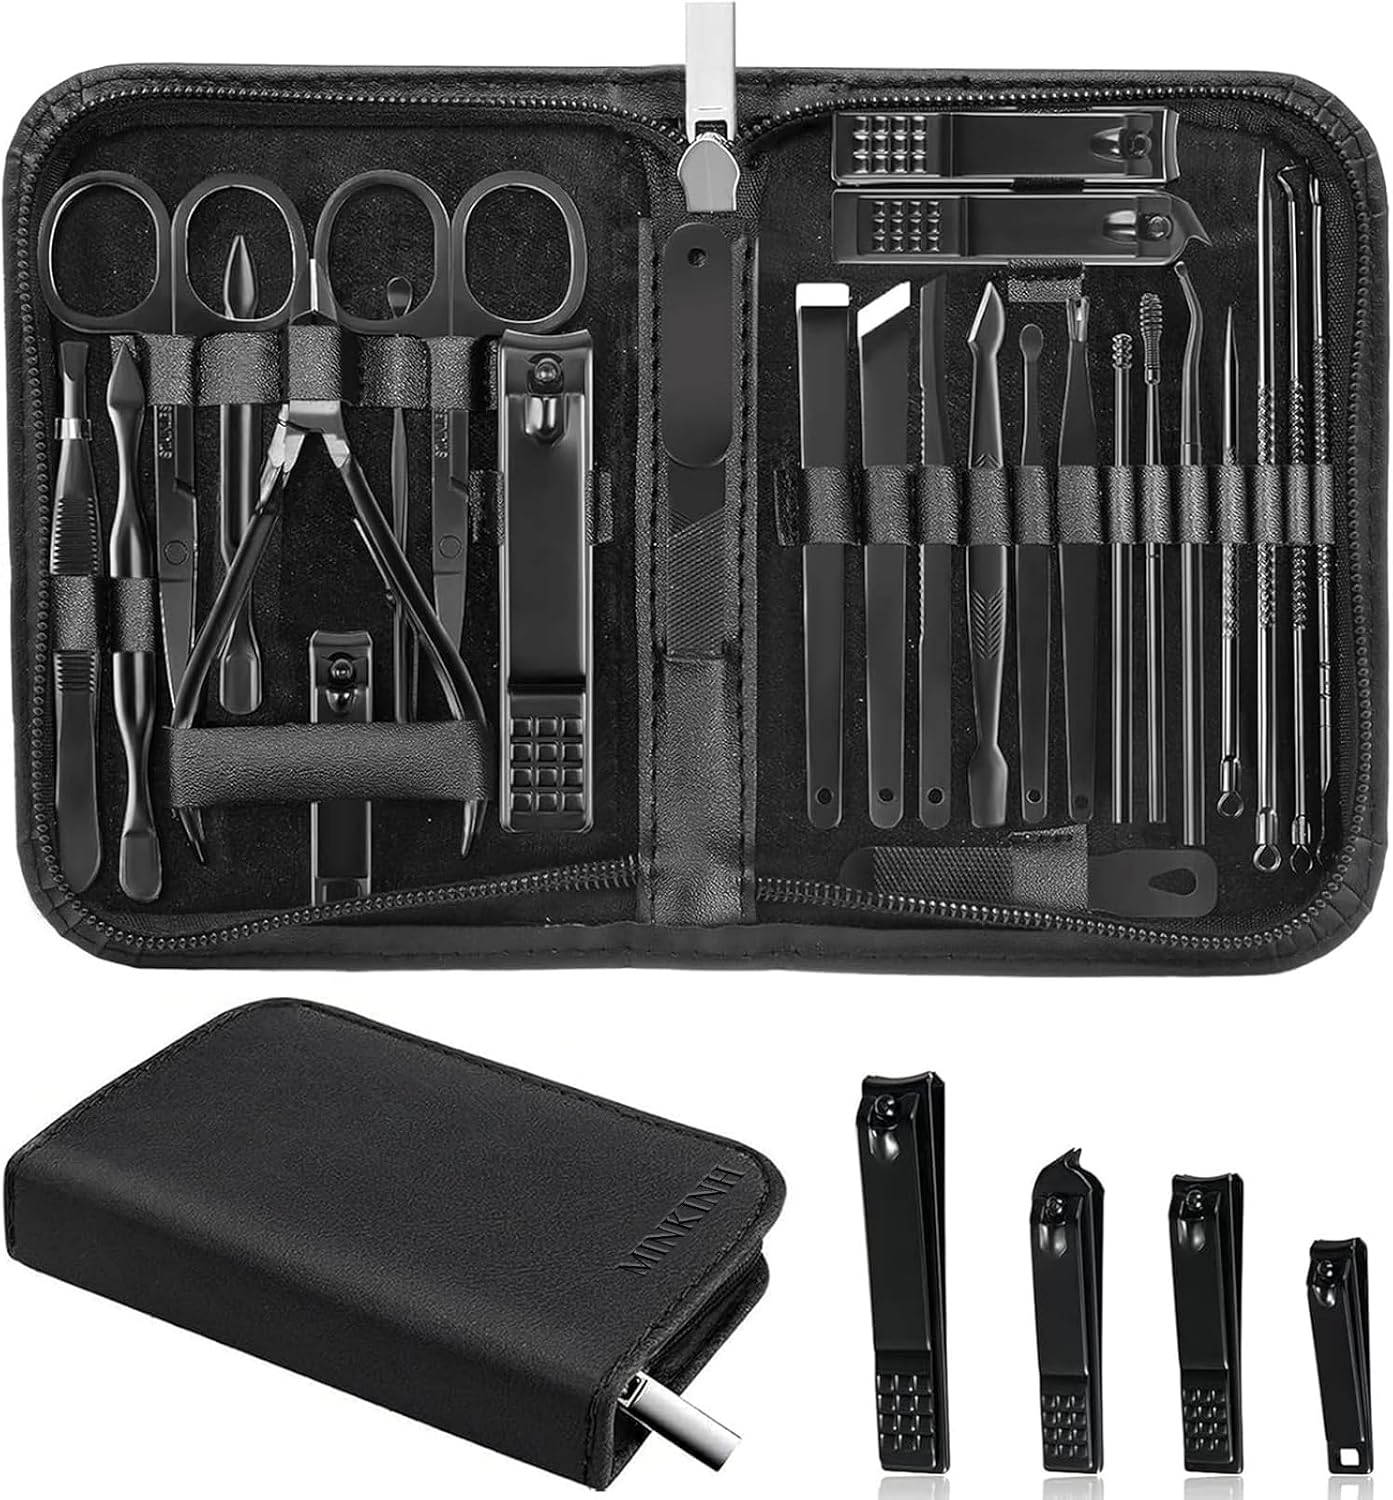
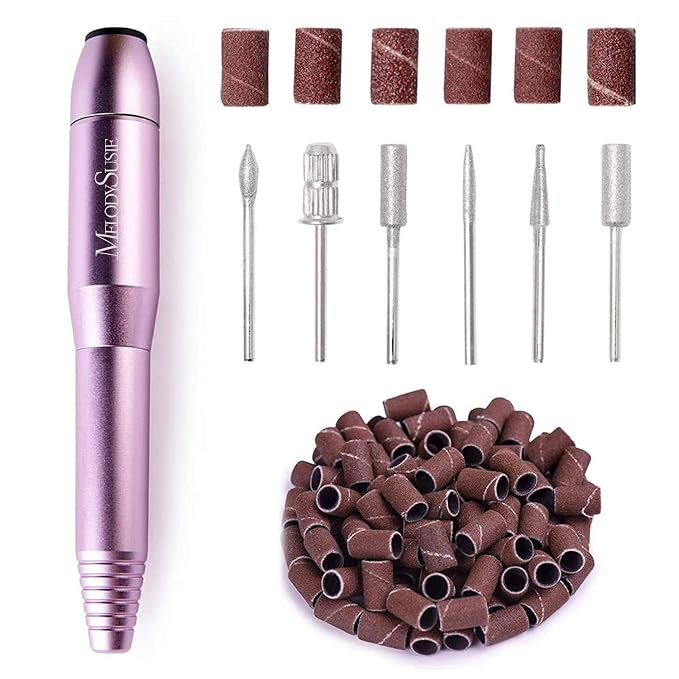
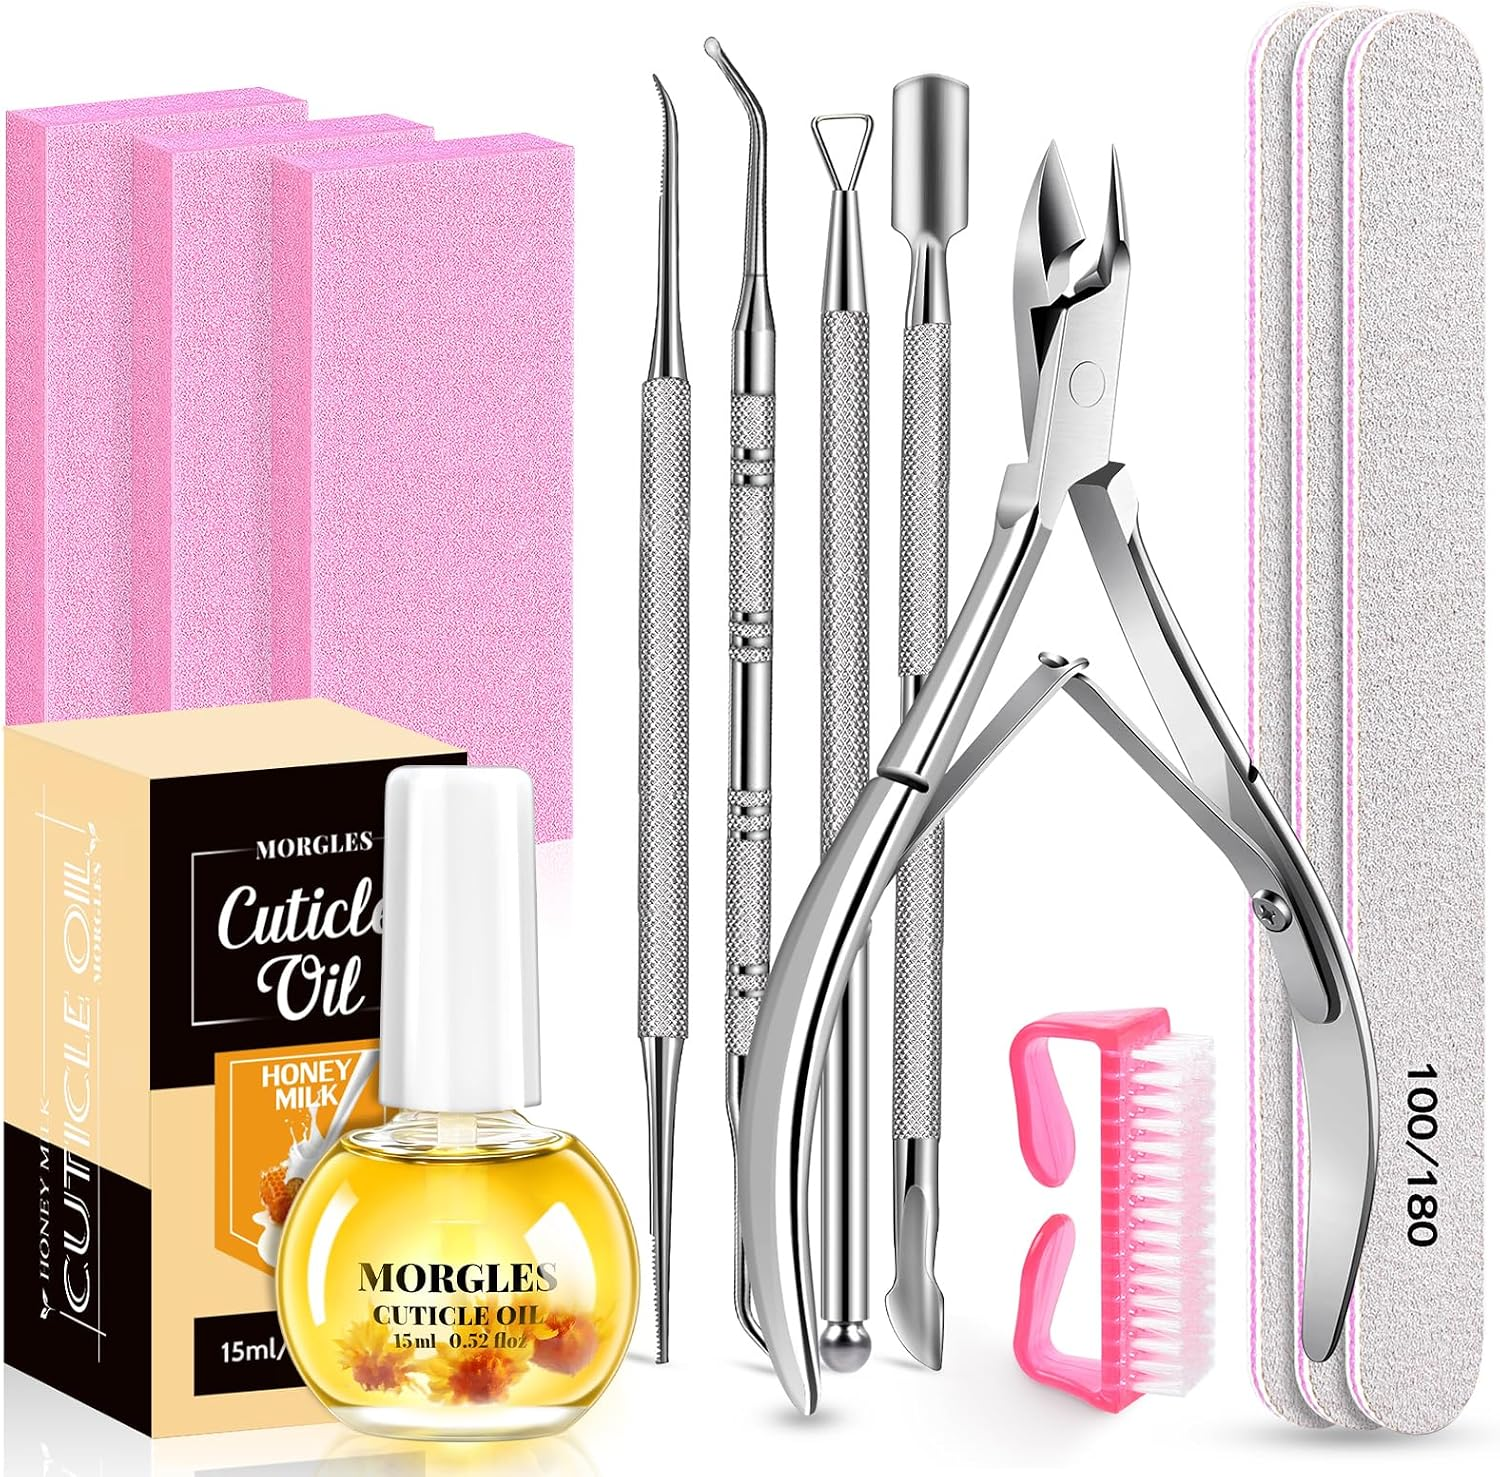
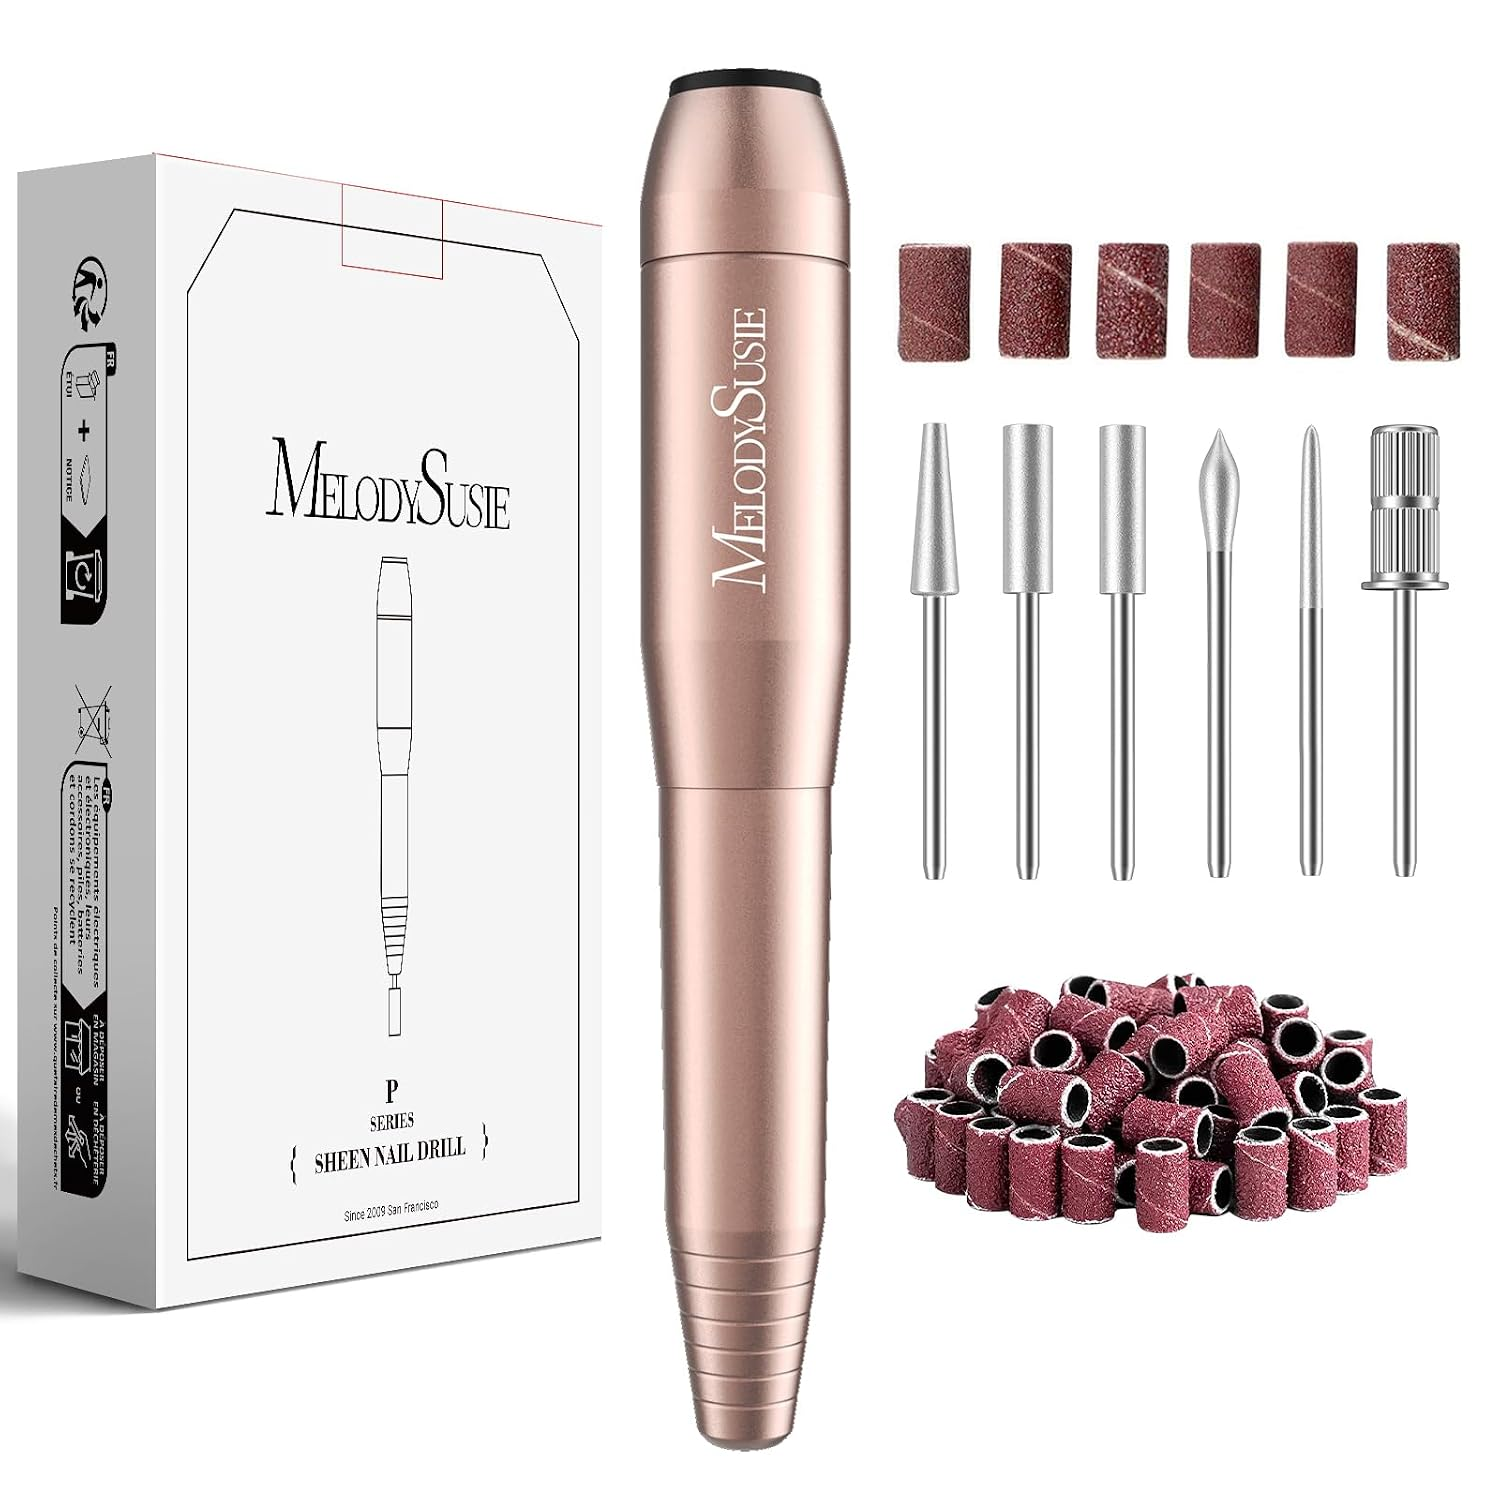
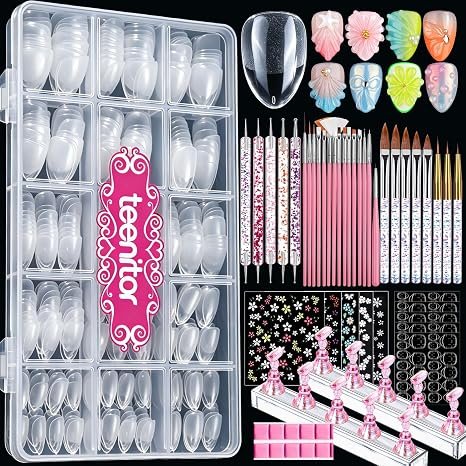
The following tools are commonly used for cleaning, trimming, and shaping toenails:
- Nail clippers: For trimming toenails.
- Nail file: For smoothing rough edges and shaping nails.
- Nail buffer: For gently smoothing the nail surface.
- Cuticle pusher: For gently moving back softened cuticles.
- Foot basin: For soaking your feet if desired.
- Clean towel: For drying your feet.
- Pumice stone or foot file: For gently smoothing rough areas.
You don’t need every tool for a basic pedicure. Nail clippers, a file, a towel, and a basin are enough to get started.
Foot-Care and Exfoliation Products
Foot-care products can help you clean, exfoliate, and moisturize your feet during your routine.
Consider keeping these supplies nearby:
- Mild soap: For washing your feet.
- Foot soak: An optional addition to your foot-soaking routine.
- Foot scrub: For gentle exfoliation.
- Pumice stone: For lightly smoothing rough areas.
- Foot moisturizer: For moisturizing your feet after cleaning.
Choose products according to your preference, and keep exfoliation gentle.
Nail Polish and Finishing Supplies
If you want to paint your toenails, prepare your polish supplies before starting. These are optional if you prefer a natural-looking pedicure.
- Nail polish remover: For removing old polish.
- Cotton pads: For applying nail polish remover.
- Base coat: The first layer in a traditional nail-polish routine.
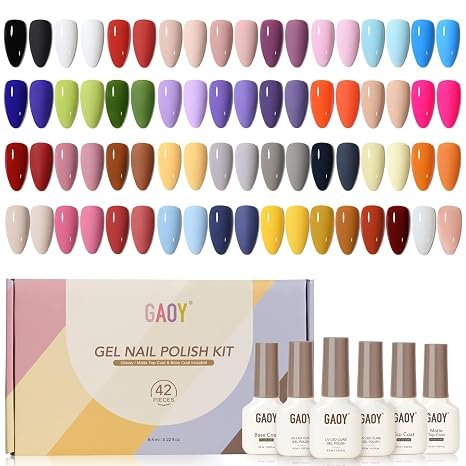
- Nail polish: Your preferred colour and finish.
- Top coat: A finishing layer applied over coloured polish.
- Toe separators: Helpful for keeping toes apart while painting.
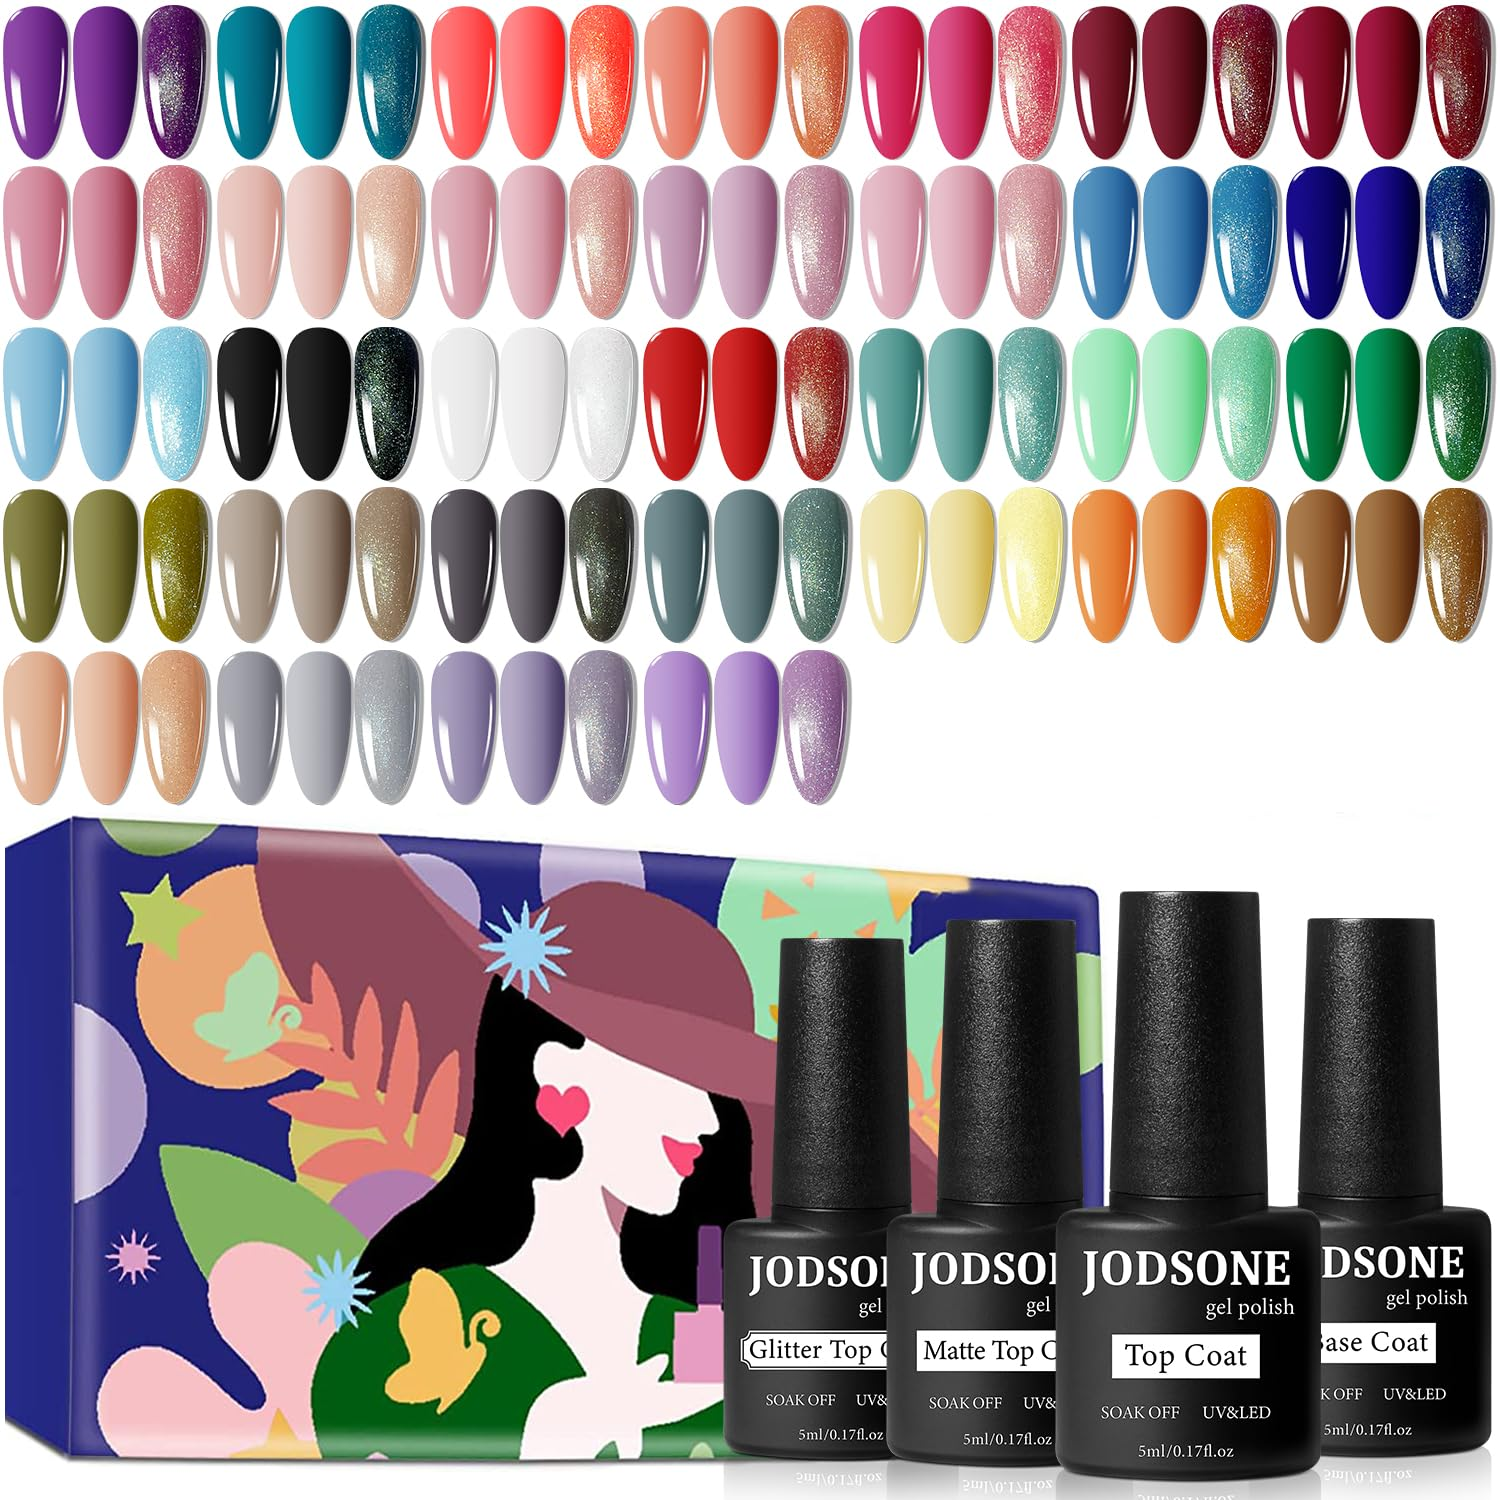
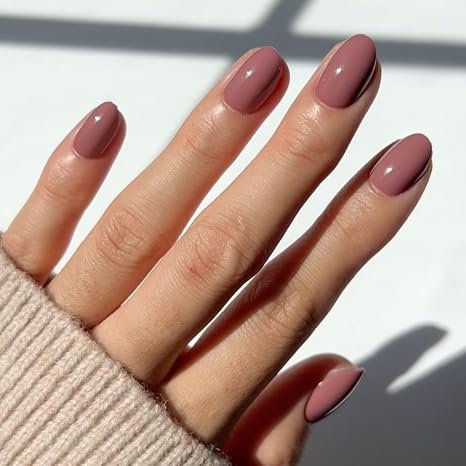
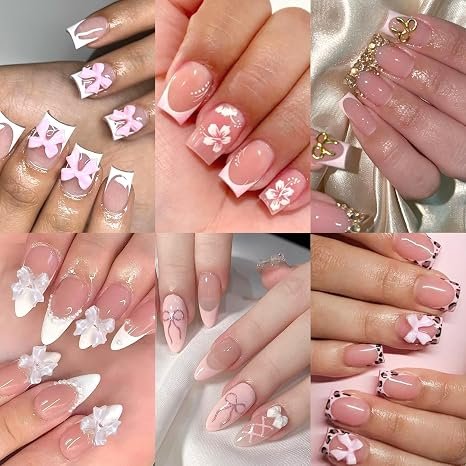
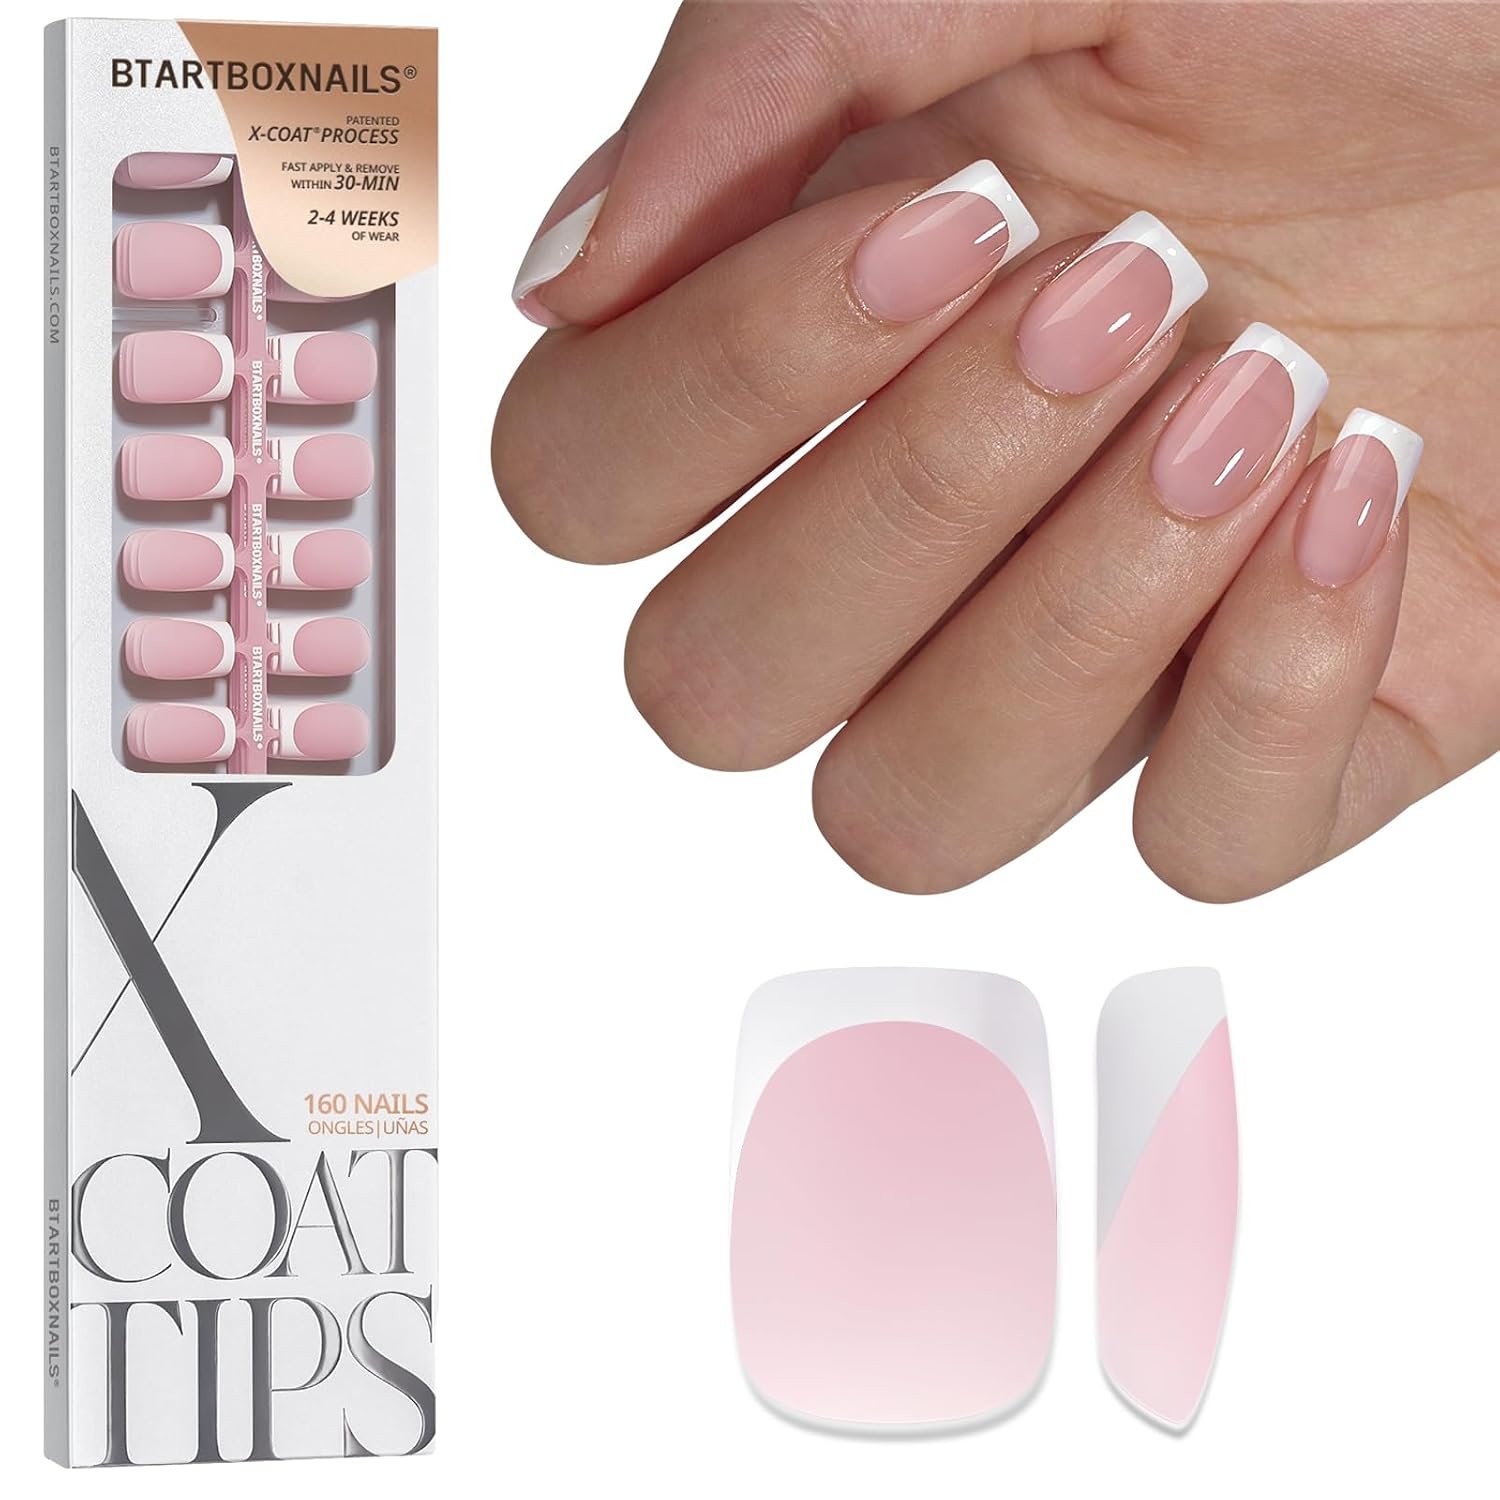
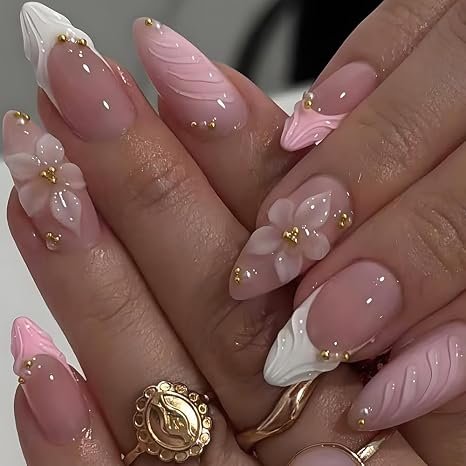
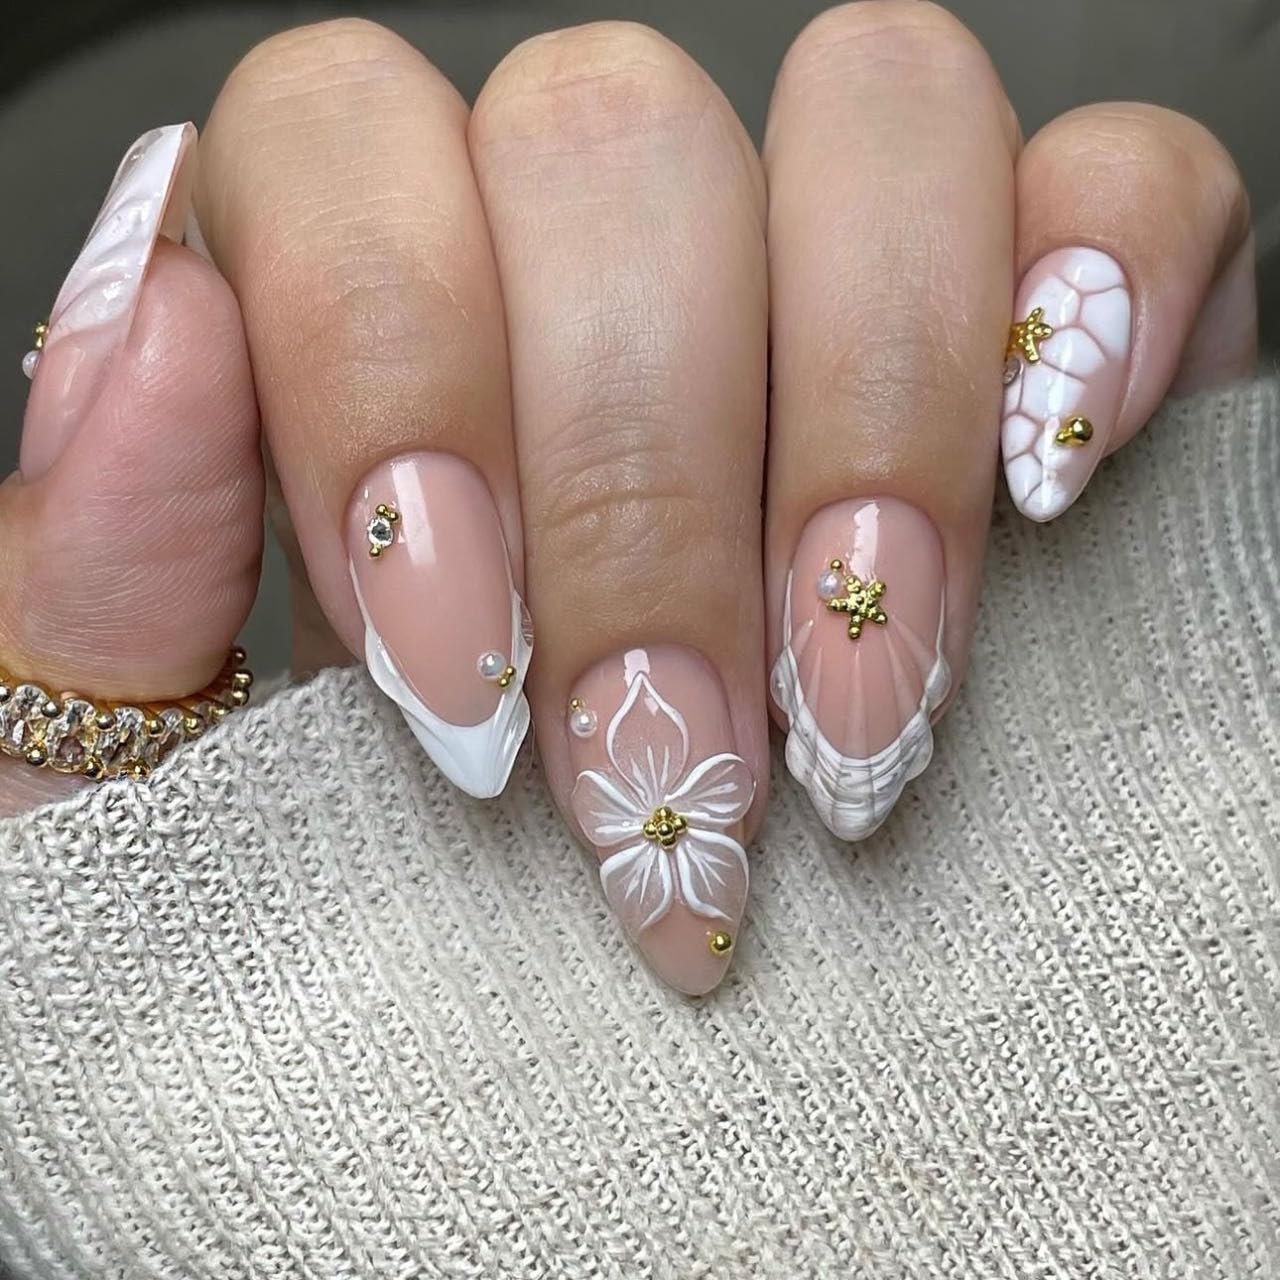
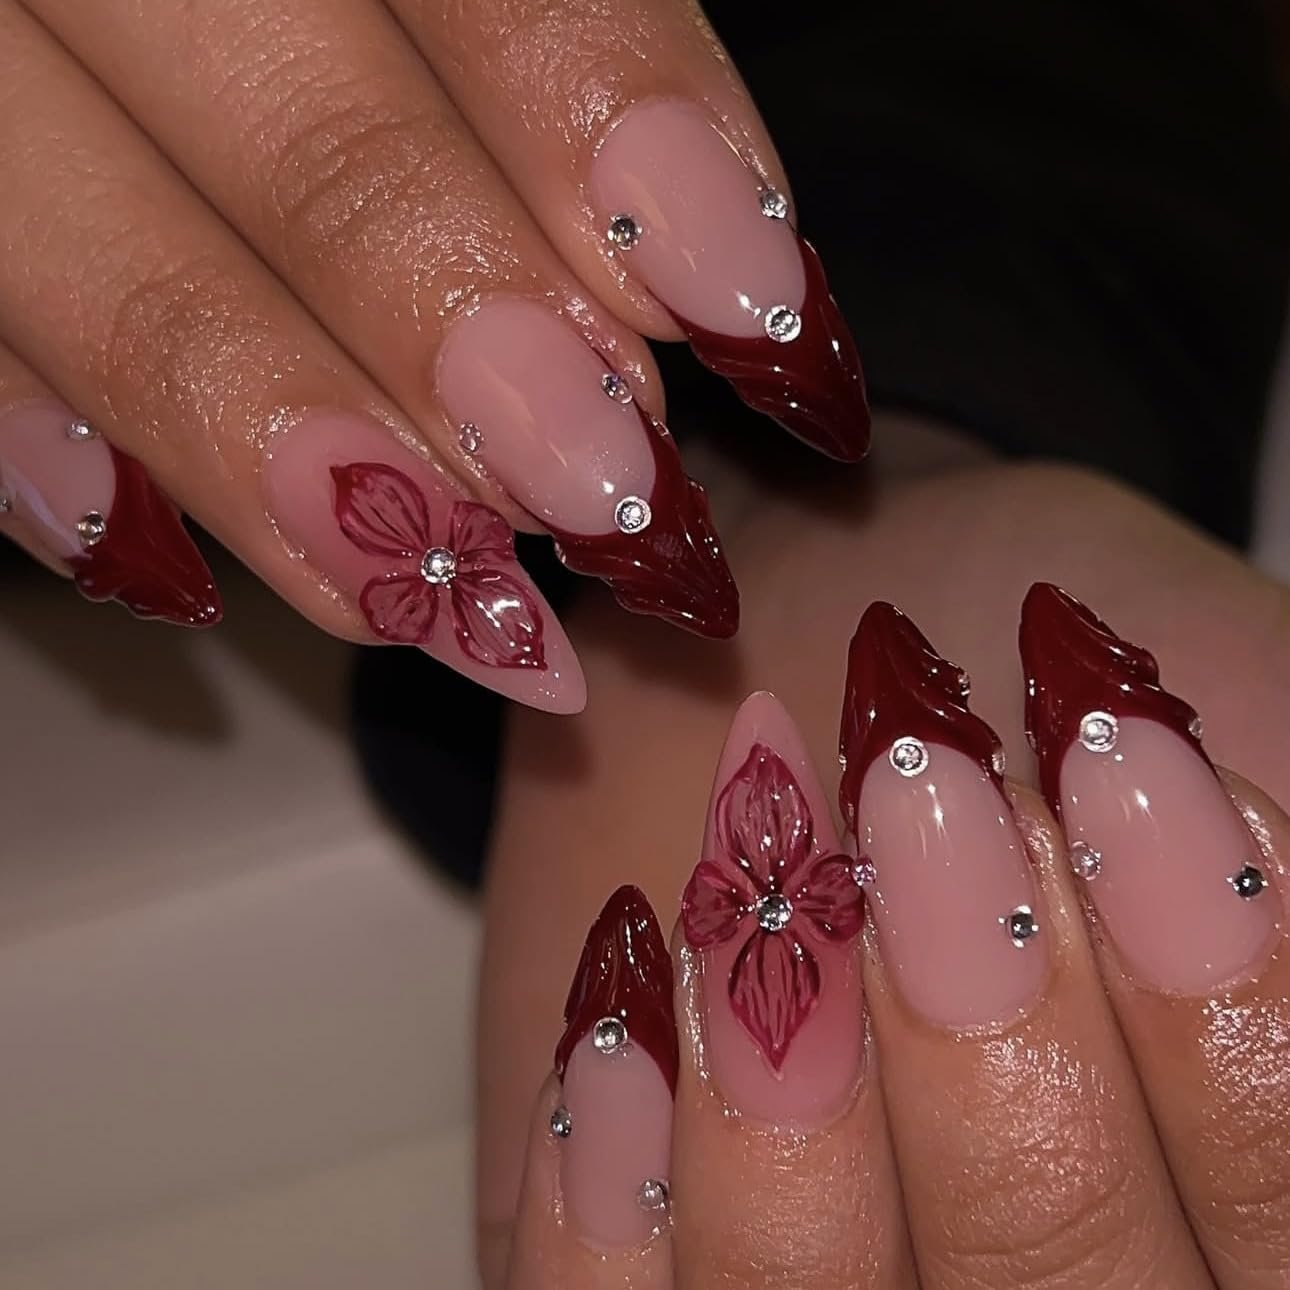
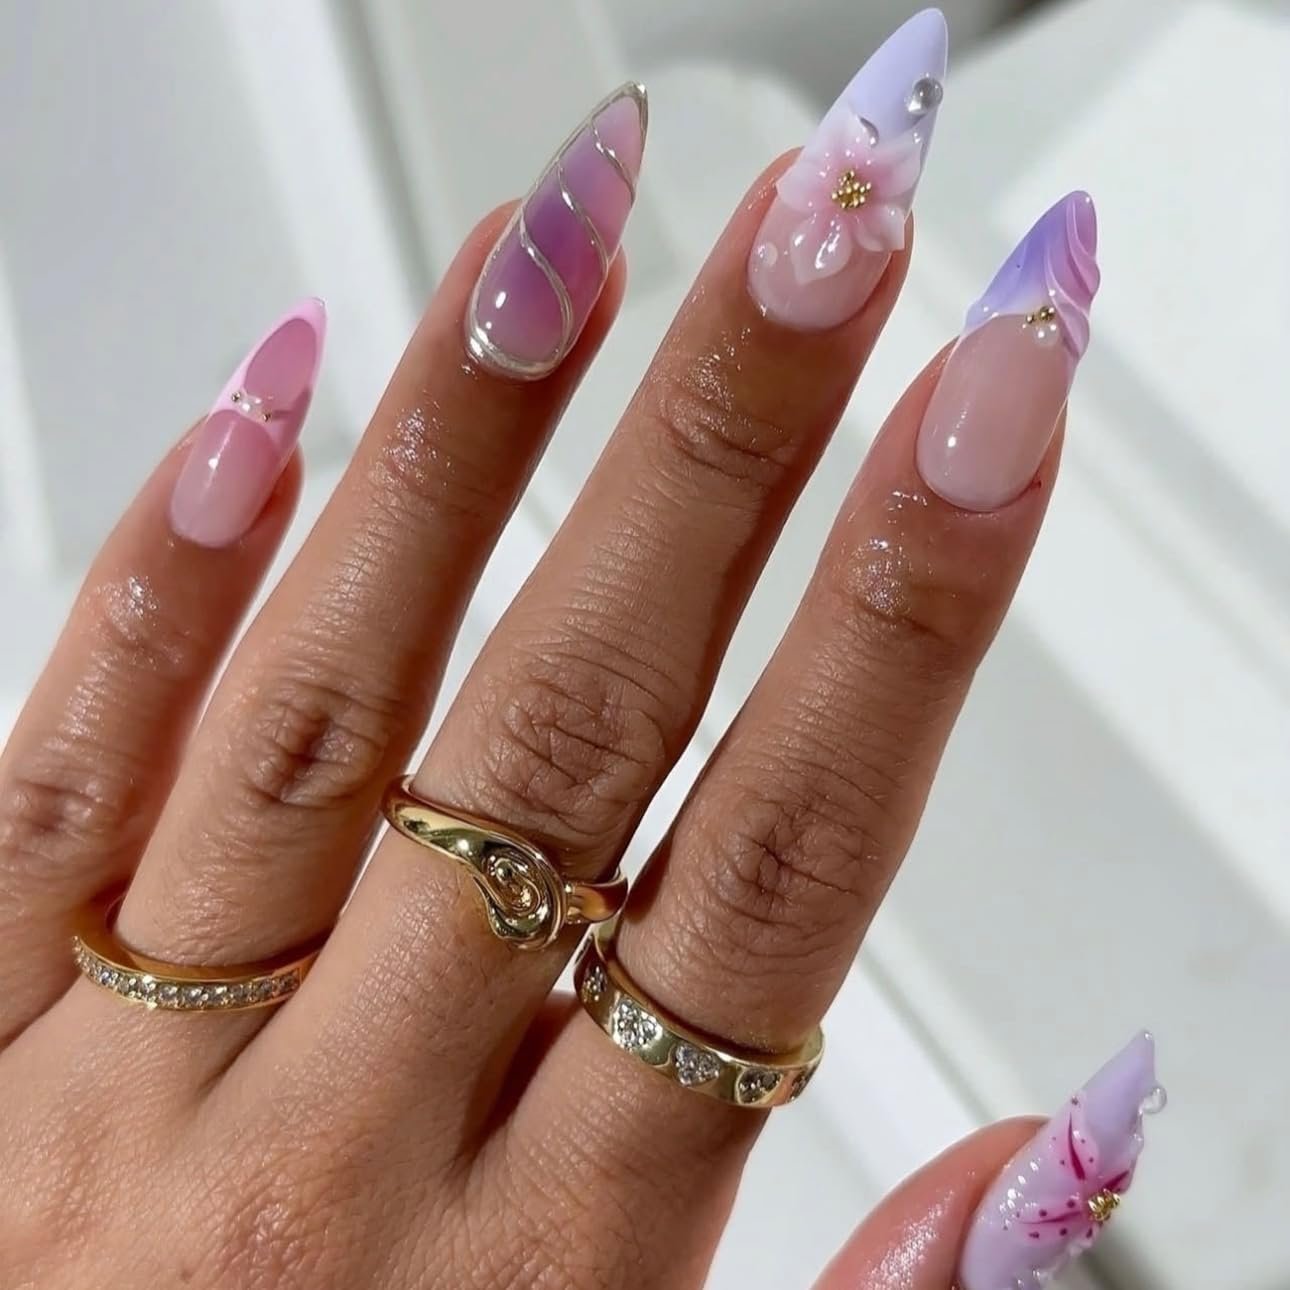
Toenail polish colours include soft pink, nude, classic red, white, and deeper shades. Finishes can be glossy, sheer, shimmer, or matte, depending on the polish you choose.
Once your supplies are ready, you can begin your pedicure with clean feet and properly prepared toenails.
How to Do a Pedicure at Home Step by Step
A home pedicure can be a straightforward grooming routine. Work through each step at your own pace, from removing old polish to shaping your nails and finishing with your preferred colour.
Step 1: Remove Old Nail Polish
Start by removing any old toenail polish using nail polish remover and a cotton pad. Clean the entire nail surface, including the edges, so no visible colour or polish residue remains.
Take your time around the corners of the nails to keep the area neat before moving on.
Step 2: Soak Your Feet in Warm Water
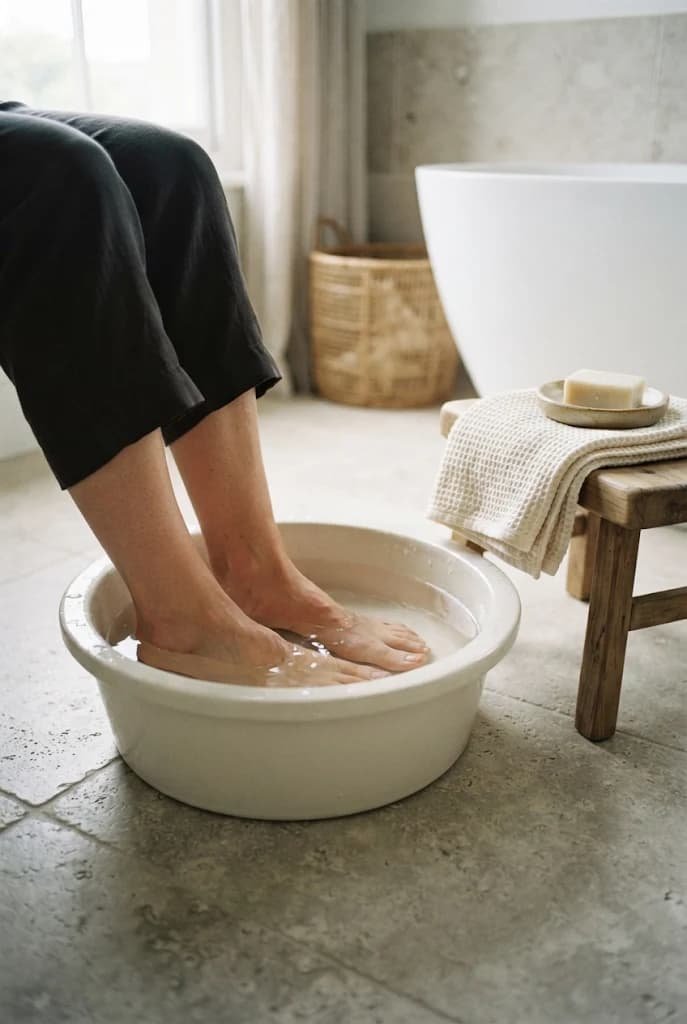
Fill a basin with comfortably warm water and soak your feet. You can add a little mild soap if you prefer, or simply use plain water.
A foot soak is an optional preparation step. Keep the water at a comfortable temperature and make sure your basin is clean.
Step 3: Trim and Shape Your Toenails
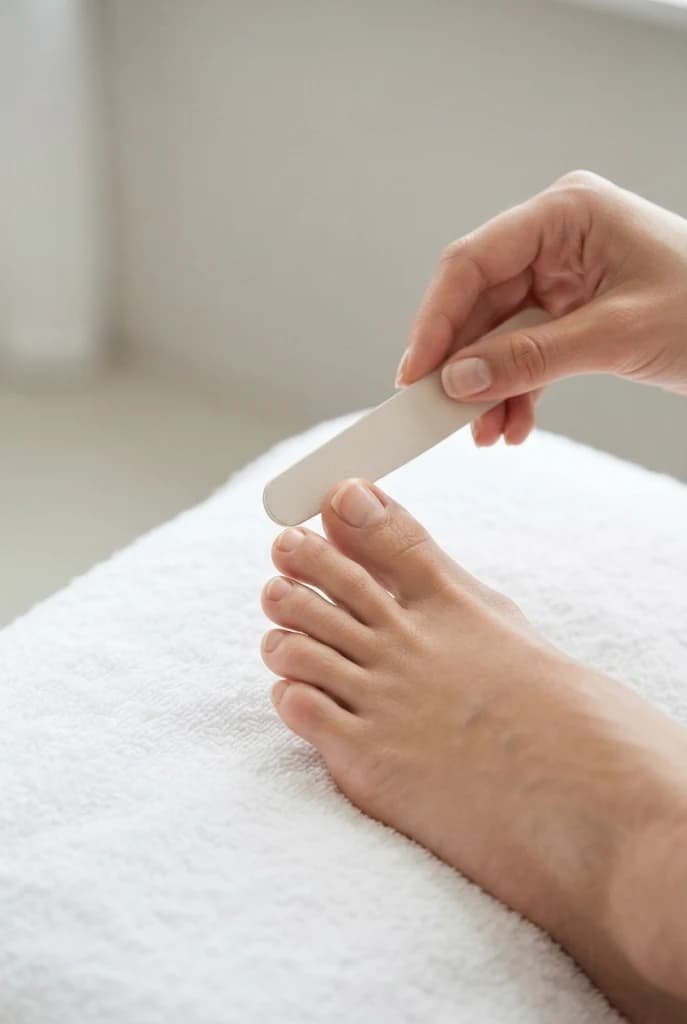
Use a nail clipper to trim your toenails to your preferred length. Shape the edges with a nail file, smoothing rough areas and keeping the nail shape consistent.
A straight, softly rounded, or natural-looking edge can work well depending on your preference.
Step 4: Gently Care for Your Cuticles
Apply a little cuticle softener or moisturizer around your toenails if desired. You can gently push back softened cuticles with a cuticle pusher, but avoid forceful movements or cutting the surrounding skin.
Keep this step simple and gentle.
Step 5: Exfoliate Your Feet
Use a foot scrub, pumice stone, or foot file gently on areas that feel rough, such as the heels or soles. Work lightly rather than scrubbing repeatedly in one spot.
You don’t need to overdo exfoliation to complete a basic pedicure.
Step 6: Rinse and Dry Your Feet
Rinse off any remaining scrub with clean water. Use a soft towel to dry your feet thoroughly, including between your toes, before continuing with the next steps.
Step 7: Apply Foot Moisturizer
Apply your preferred foot cream or moisturizer to your heels, soles, and the tops of your feet. Massage it in gently until it feels comfortable.
If you’re planning to paint your toenails, keep moisturizer away from the nail surfaces so they are ready for polish.
Step 8: Apply Toenail Polish
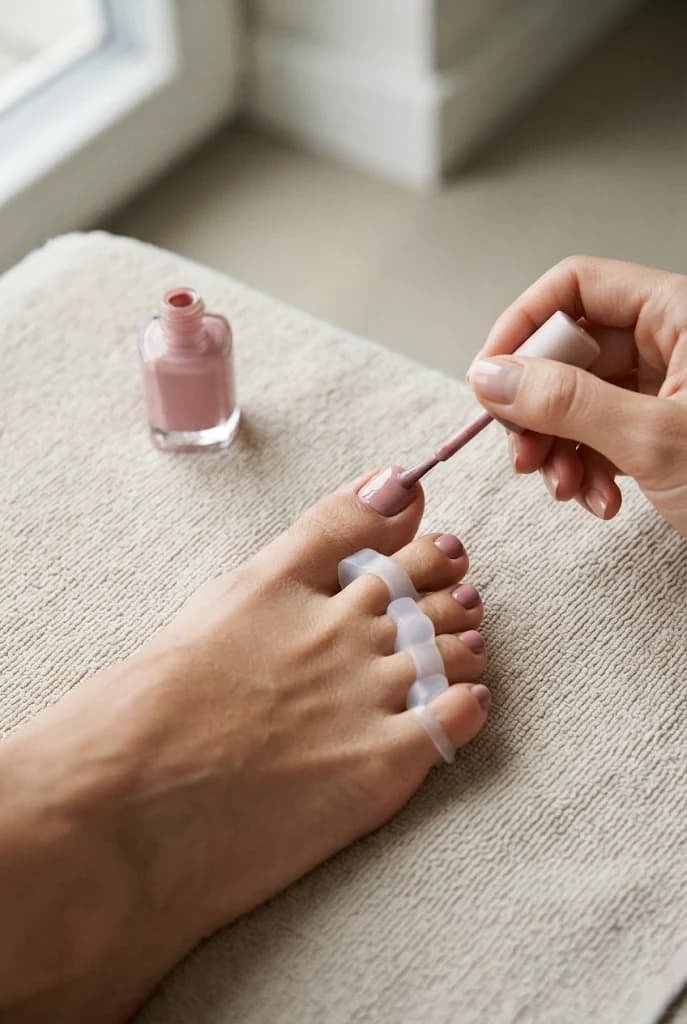
Make sure your toenails are clean and dry before applying nail polish. Start with a base coat if you use one, followed by your chosen colour. Apply the polish carefully, then finish with a top coat according to your product’s instructions.
You can choose a soft nude, pink, red, white, or any shade you like. Allow your polish to dry according to the instructions on the product before putting on footwear.
Common Home Pedicure Mistakes to Avoid
A few small mistakes can make a home pedicure harder to manage. Keeping your routine simple and using gentle techniques helps you avoid unnecessary mess and discomfort.
Cutting Toenails Too Short
Avoid trimming your toenails excessively short or shaping the corners too deeply. Use your nail clipper carefully and file the edges to achieve a neat shape rather than cutting away too much.
Scrubbing Feet Too Aggressively
Using too much pressure with a foot scrub, pumice stone, or foot file can leave the skin feeling uncomfortable. Work gently and don’t try to remove every rough area at once.
Cutting or Forcing Back Cuticles
Cutting cuticles or pushing them back too forcefully is unnecessary for a basic pedicure. Keep cuticle care gentle and avoid cutting the skin around your toenails.
Using Unclean Pedicure Tools
Use clean nail clippers, files, and foot-care tools. Clean them after use and keep your personal grooming supplies stored neatly rather than sharing them with others.
Applying Polish to Damp Toenails
Make sure your toenails are dry and clean before applying polish. Avoid applying nail colour over damp nails or moisturizer residue, and follow the instructions on your polish products.
Tips for a Neat-Looking Home Pedicure
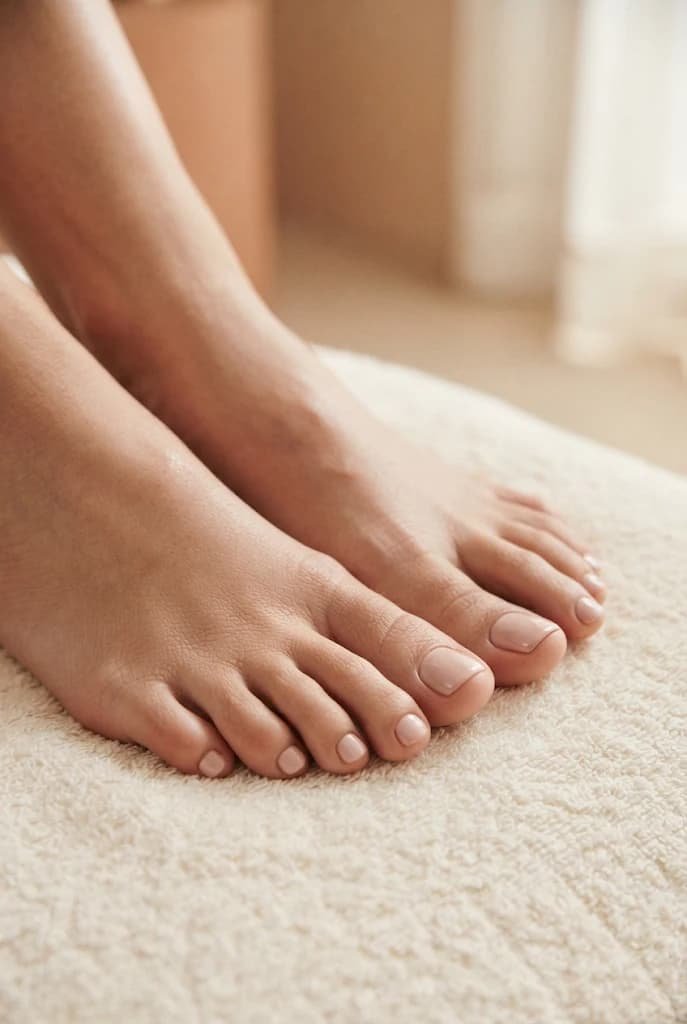
A few simple details can make your pedicure look more polished. Paying attention to nail shape, polish application, and your chosen finish helps create a neat appearance.
Choose a Toenail Shape You Prefer
Toenails can be shaped in different ways according to your preference and natural nail shape. Straight, softly rounded, and square-looking edges are common choices.
Use a nail file to smooth uneven edges and keep the shape consistent across your toes. Choose a shape that you like rather than trying to make every toenail look exactly the same.
Apply Thin, Even Coats of Nail Polish
Use a small amount of polish on your brush and spread it carefully across the nail. Thin coats can make it easier to control the application and avoid getting polish on the surrounding skin.
Allow each layer to dry according to the product instructions before adding another. You can choose nude, pink, red, white, or any other colour that suits your style.
Finish with a Top Coat
A top coat is a finishing layer applied over nail polish. Depending on the formula, it can give your toenails a glossy or matte appearance.
Apply it evenly over the coloured polish, following the product instructions. It is a simple way to finish your chosen pedicure look.
How Often Should You Do a Pedicure at Home?
There is no need to follow a strict pedicure schedule. You can groom your feet and toenails whenever they need attention or whenever you want to refresh your look.
Some routines may include trimming and shaping, while others may focus on moisturizing or changing toenail polish. You don’t have to repeat every step each time.
If your toenail polish is chipped or you want to try another colour, you can refresh it. If your nails already look the way you like, you can leave them as they are.
Home Pedicure Hygiene and Safety
Keeping your pedicure tools and workspace clean is an important part of your grooming routine. Start with clean hands and washed feet, and prepare your tools before you begin.
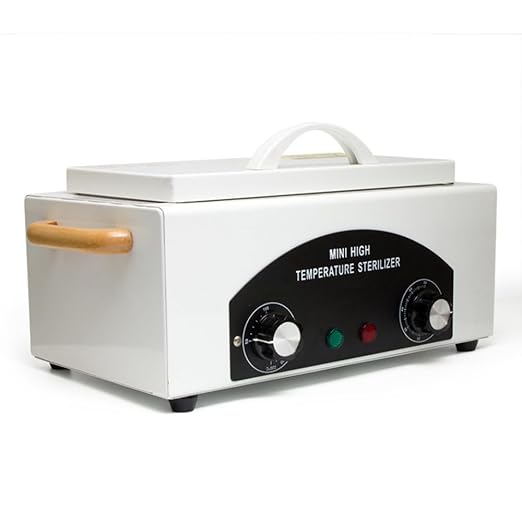
- Clean your nail clippers, files, and reusable tools after use.
- Avoid sharing personal nail tools.
- Use foot files and pumice stones gently.
- Don’t cut your cuticles or force them back.
- Keep nail polish bottles closed when not in use.
- Store pedicure supplies in a clean, dry place.
- Avoid using grooming tools on irritated or broken skin.
Keeping your supplies organised makes your pedicure routine easier and helps you keep track of the tools and products you use.
Frequently Asked Questions About Home Pedicures
How Long Does a Home Pedicure Take?
The time depends on how many steps you include and whether you are removing old polish, soaking your feet, exfoliating, shaping your nails, or applying a fresh colour. A basic grooming session will take less time than a full pedicure with several polish layers.
You can take your time with each step rather than rushing to finish.
What Should You Soak Your Feet In Before a Pedicure?
Comfortably warm water is enough for a simple foot soak. You can fill a small basin with warm water and soak your feet before beginning your grooming routine.
Some people prefer adding mild soap, while others use plain water. A complicated foot-soak mixture isn’t necessary for a basic pedicure.
Can You Do a Pedicure Without Soaking Your Feet?
Yes. Soaking your feet is optional. You can wash your feet, dry them thoroughly, and continue with trimming, filing, moisturizing, and painting your toenails.
Skipping the soak is an option if you prefer a simpler routine.
Should You Cut Your Cuticles During a Pedicure?
Cutting your cuticles is not necessary for a neat pedicure. You can leave them alone or gently push them back if needed. Avoid cutting the skin around your toenails.
What Is the Correct Order for a Home Pedicure?
A simple home pedicure follows this order:
- Remove old nail polish.
- Soak your feet in warm water, if desired.
- Trim and shape your toenails.
- Gently care for your cuticles.
- Exfoliate your feet.
- Rinse and dry your feet.
- Apply foot moisturizer.
- Apply base coat, nail polish, and top coat.
This order takes you from cleaning and grooming to moisturizing and applying polish.
How Often Should You Change Toenail Polish?
You can change your toenail polish whenever you want a different colour or when the existing polish no longer looks the way you prefer. You may choose to remove it, apply a fresh shade, or leave your toenails natural.
There is no need to follow a fixed colour-changing schedule. Choose the timing based on your preference and grooming routine.
Final Thoughts
A home pedicure doesn’t need to be complicated. A few basic tools, warm water, a nail file, moisturizer, and your favourite nail polish are enough to create a simple grooming routine.
Take your time with each step, keep your supplies organised, and choose nail shapes and colours that you enjoy. Whether you prefer bare toenails, classic red polish, soft pink, or neutral shades, you can keep your pedicure routine simple and suited to your own style.